With the holiday coming up, some of you folks might want to try this wonderful recipe for a great treat. I have used this recipe for about 15 years and think it is better than anything out there. It’s even been compared against the top Deli’s in New York City as a better product. It is fairly easy to do but does take 3-4 days to cure the meat.
“Pastrami” come from the word or words Pastramo, Pastrama, or Pastramas and is a VERB. It is a method of putting food by or preserving meat before we had our fridge’s. It originated in Romania. In the good old US of A, it usually means beef but worldwide, there is probably more fowl pastramied than any other meat. Wild game, sheep, goat, lamb, are other animals that are sometimes used for this treat.
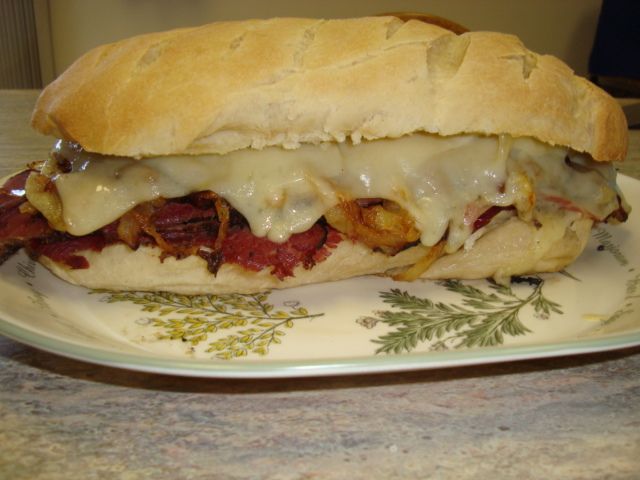
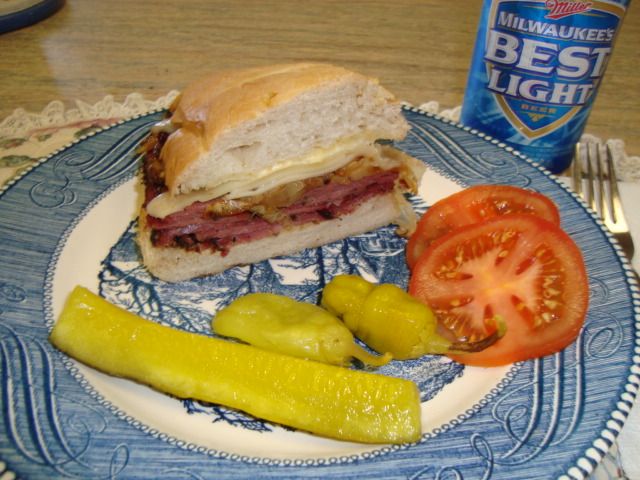
This is a sandwich on one of my large hoogie rolls with some deli mustard and about a pound of my fresh made pastramied brisket and about 6 slices of Swiss cheese and also some carmelized onions.
Sure makes a great lunch!!
Let’s get started......
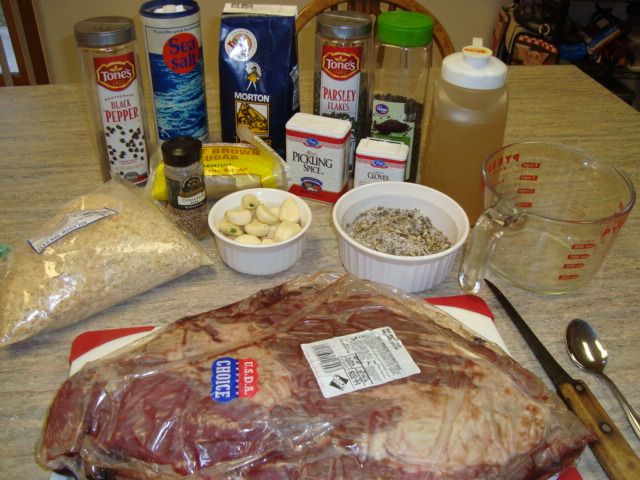
I like to start with a nice brisket flat that weighs about 6-7 pounds. Next we’ll make up our brine or cure.
28 oz water
3 TBL Morton’s Tender Quick
2 TBL brown sugar
1 tsp garlic powder
Place in pan and heat up a little and mix it up well but do not boil....cool off in fridge before injecting.
First Rub
1/4 cup Morton’s Tender Quick
2 TBL brown sugar
3 TBL black pepper
2TBL dried parsley
1 TBL dehydrated onion
2 TBL sea salt
1/2 tsp ground cloves
3 TBL pickling spice
Garlic...you can’t use tooooo much....I used about 3 whole bulbs for my meat. I also put the cloves thru my Suzi before using.
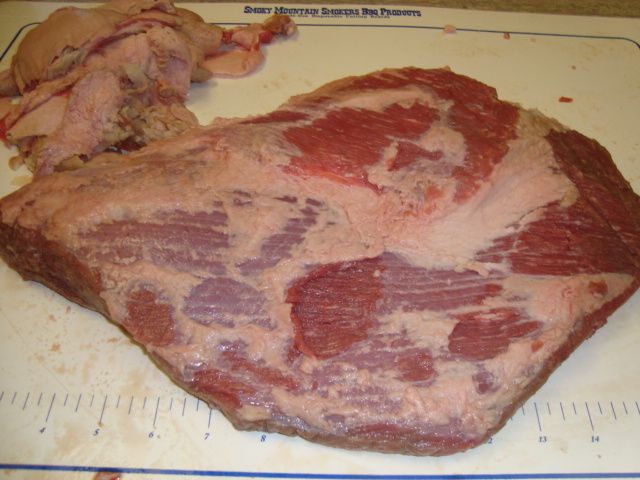
Trim most of the fat off of the brisket flat. Then cut the meat in half so you have two pieces about the same size. This recipe works best if the pieces of meat don’t weigh any more than about 3-4 pounds each.
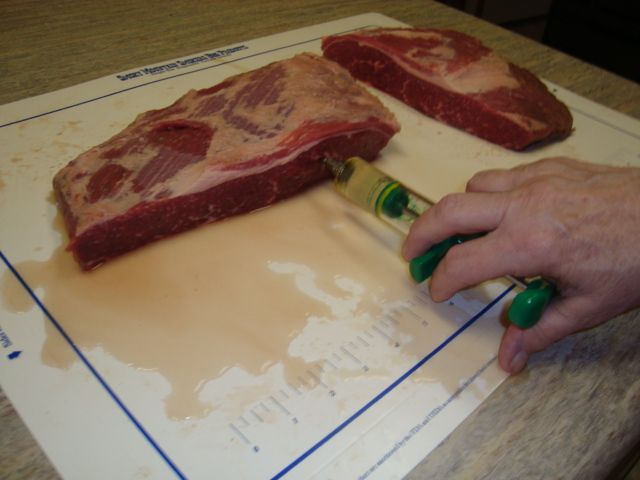
I like to inject the edges first and do this about one inch apart with the needle.

Then do the same to the top side of the meat injecting at about 1” intervals. Pump it up!
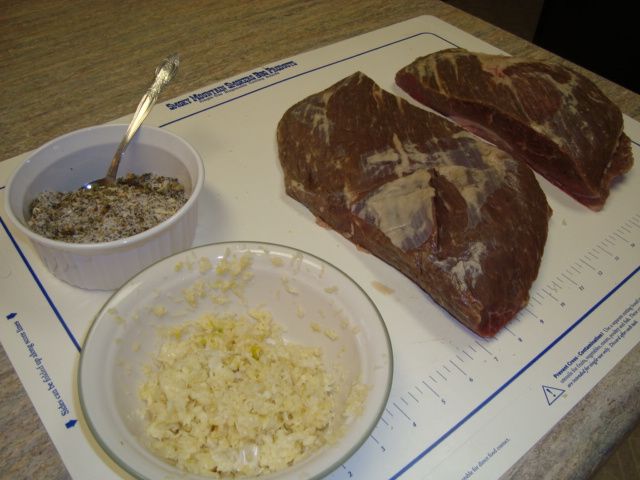
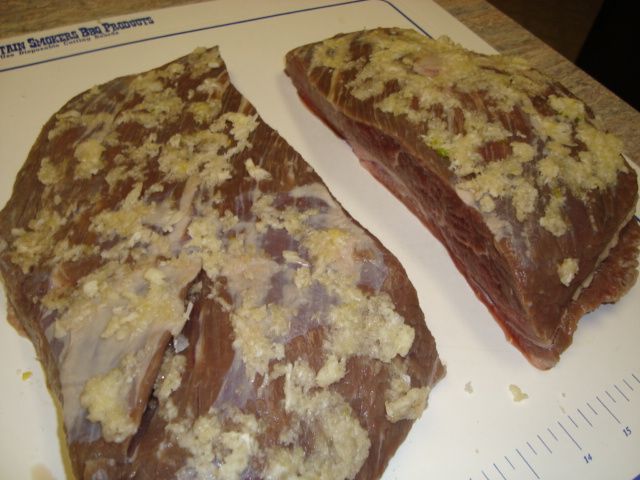
Next comes the garlic and just pack it on both sides of the meat. Don’t push too hard and drive the cure out of the meat.
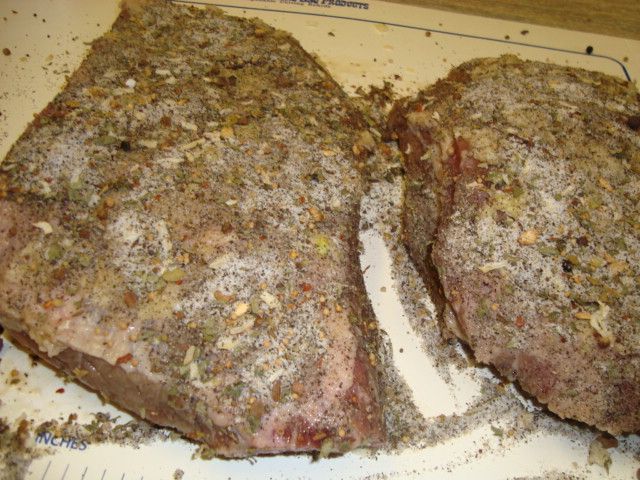
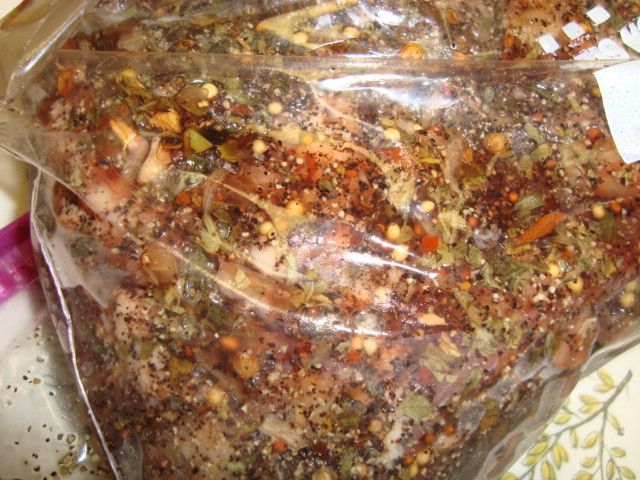
Pack the rub on the meat and again don’t push too hard.
Put each piece of meat into a zip-lock bag, get the air out of the bag, and place the bags on a plate or pan and place it into the fridge for about 3-4 days.
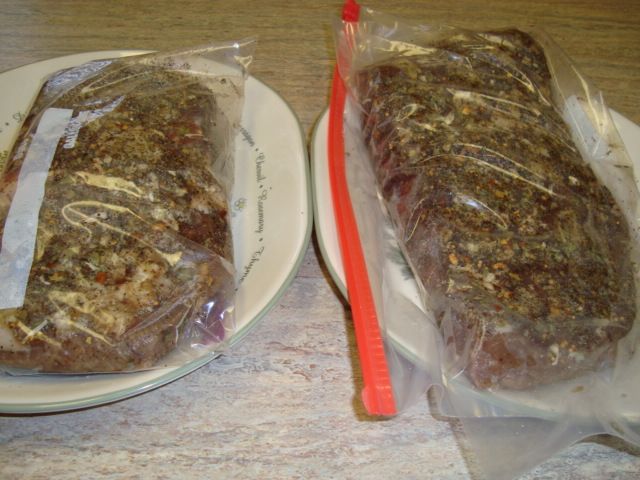
You need to turn the meat over a couple of times each day when you are in the fridge.
Smoking Day...
It will come out of the fridge with that great looking red color. Take each piece out of the bag and hold the meat under the sink faucet and wash all the first corning rub and garlic off.
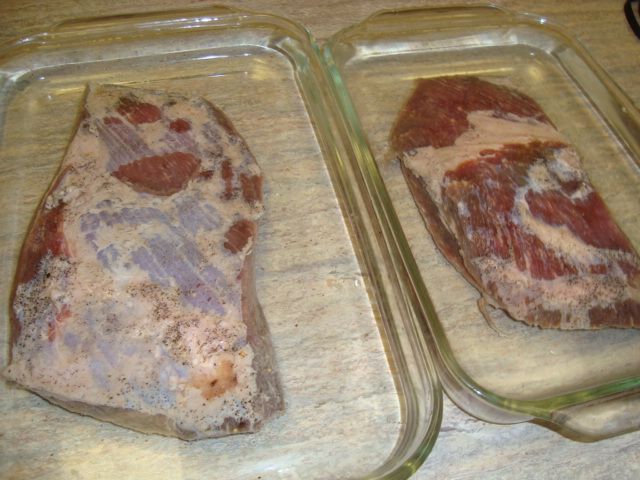
Place the meat into a bowl or pan of some type and cover it with water and let it stand for one hour.
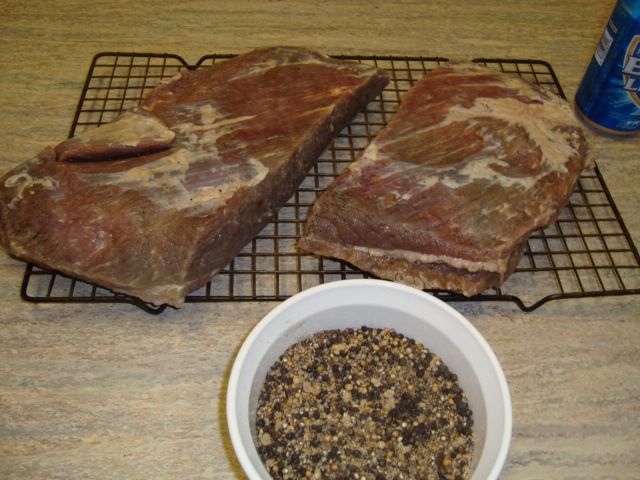
Paper towel off the meat and place it on a rack to dry for about 15 minutes. Then apply the second rub and it is ready for the smoker.
Second Rub
9 TBL black peppercorns (coarsely cracked)
3TBL coriander seeds (coarsely cracked)
3 TBL brown sugar
Coarsely cracked can be done with a mortar and pestle or maybe a coffee or spice grinder. You just need to break each seed into about 2-4 pieces. You want a crust to form on the meat from this rub so it must not be ground fine.
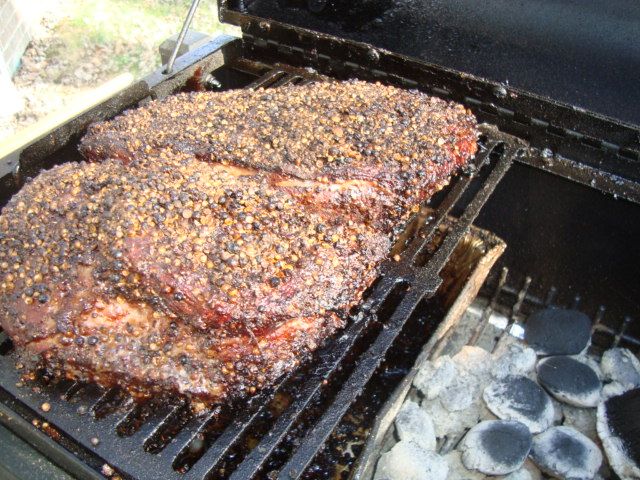
I used my little Char-Broil CB 500X and set it up indirect with a drip pan and loaded it up with about 2/3rd of a chimney full of that great Wicked Good charcoal brickettes...you know, the ones that don’t have an ingredient list.
I used about 4 fist sized pieces of hickory for this smoke and also added 10-12 more brickettes each hour. I tried to keep the cooker at about 275 degree. I cooked the meat to an internal of about 175-180 degrees measured in the very center of each piece. Took about 4 hours.
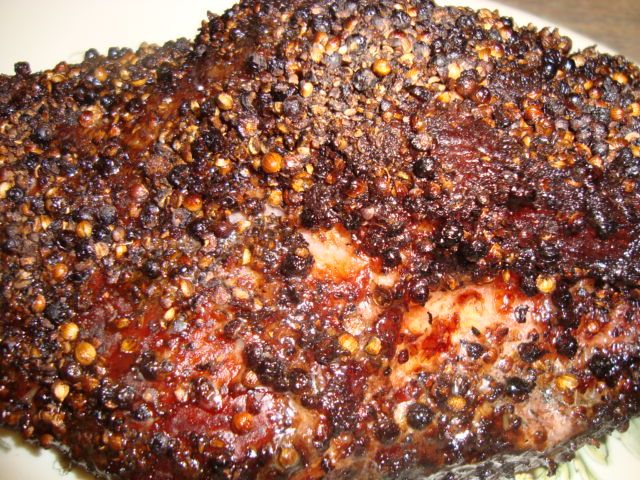
Looks good coming off of the smoker.

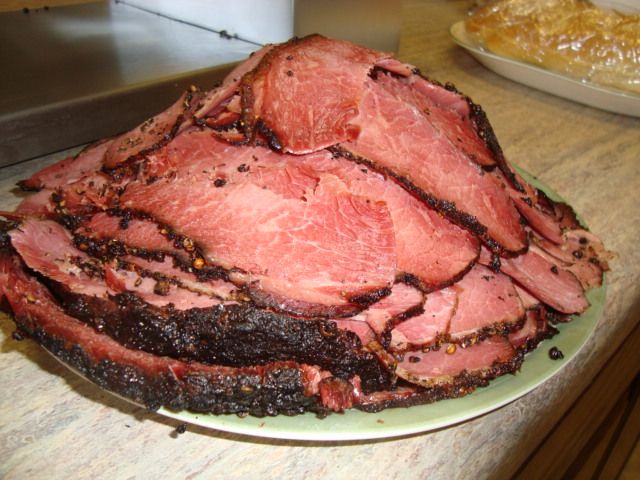
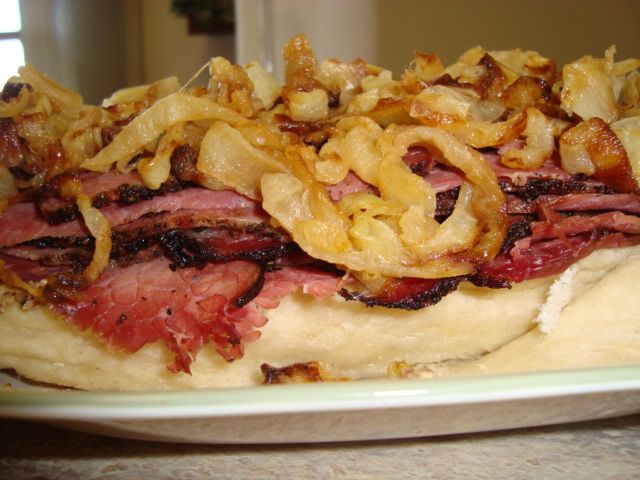
I let them cool a little while and put the meat thru my slicer.
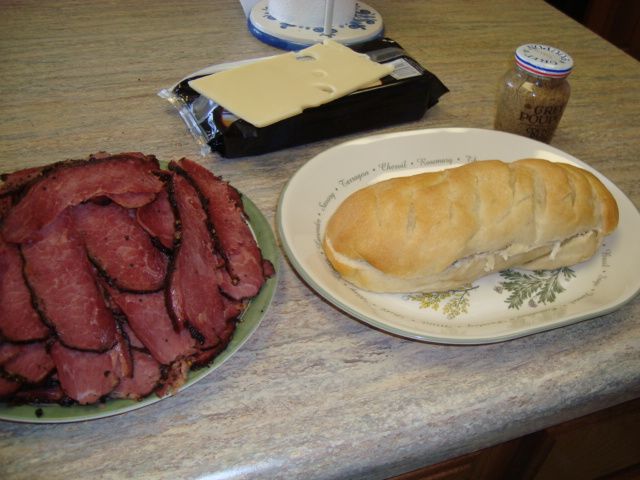
I cut my bun in half and got the cheese and mustard out.
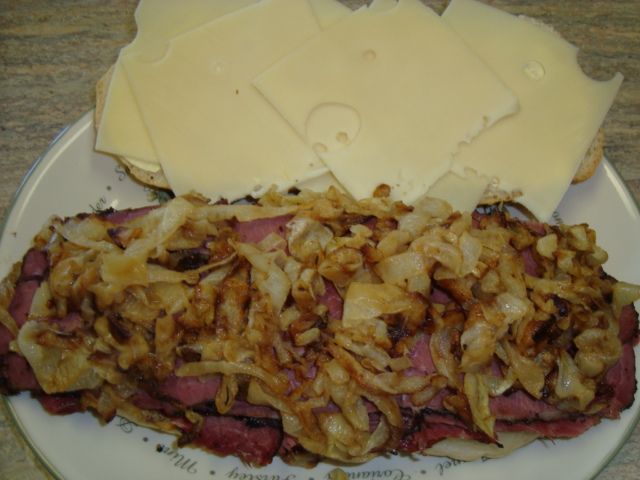
Slopped on some deli mustard, about a pound of meat, some carmelized onions, and 6-8 slices of Swiss cheese.
Shazaam!!
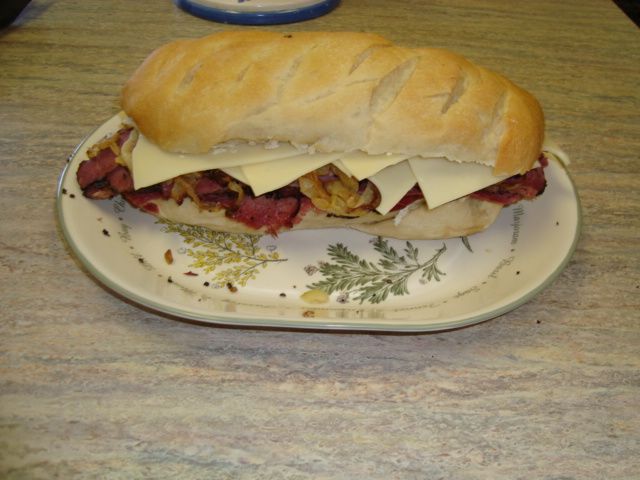
Fold that baby up and it is ready to go back on the smoker for a few minutes.
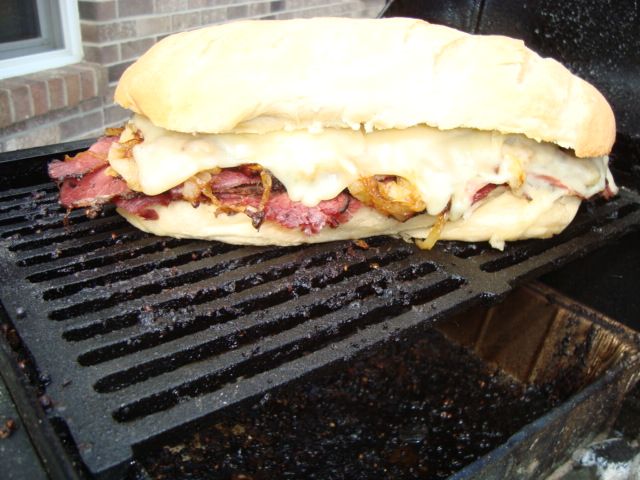
I leave it on the smoker long enough to melt the cheese and crunch up the bread.
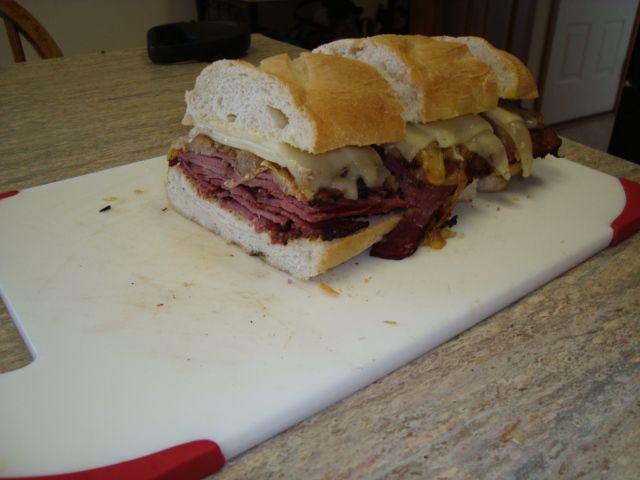
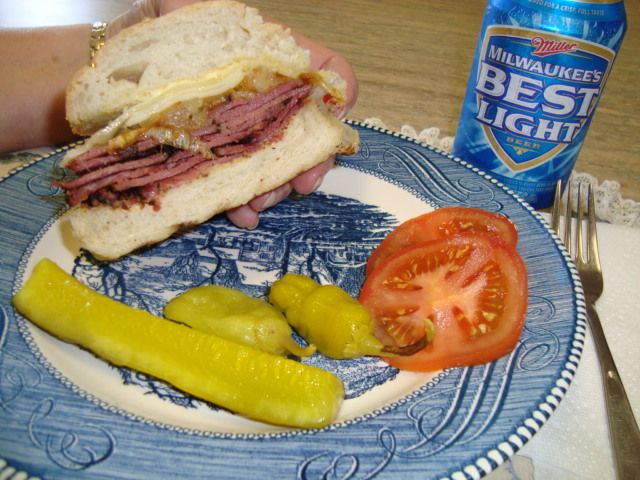
I cut the sandwich into 4 pieces for serving.
I hope some of you folks try this as I know you won’t be sorry. Mucho better that taking a piece of store bought corn beef and trying to wash the salt out of it and then smoking it. You’ll throw rocks at that after you have had this!
